
This tutorial was written for those who have a working knowledge of psp.
I use paint shop 9, but any version should work.
All
of my tutorials are of my own creations any similarity with any other
tutorial is purely coincidental.Please do not copy my tutorials please
link back to my blog!
I am always interested in seeing what you create using my tuts. You can send your results to me at lynnkitten101@gmail.com
SUPPLIES NEEDED:
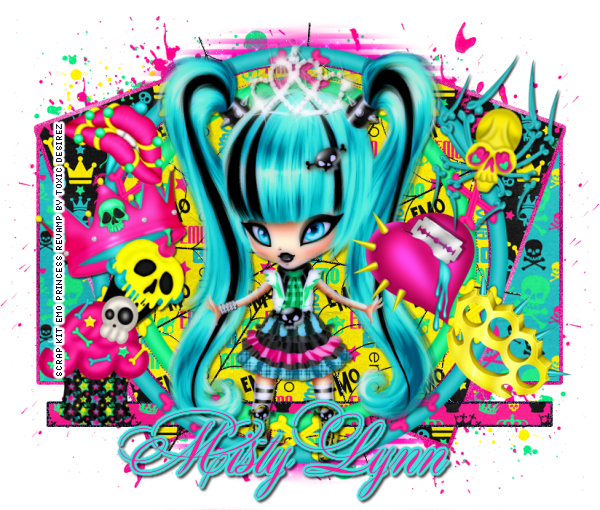
Tube of choice.
I am using a tube from the scrap kit
Scrapkit of Choice:
Scrapkit PTU Emo Princess-ReVamp by Toxic Desirez which you can get here
Font of choice.
Template of choice:
I
used Kristin_TD_Template_152
which you can get here
which you can get here
Filters needed:
eye candy4-gradient glow
Don't forget to save often!
LET'S GET STARTED
Open
template, shift D to duplicate, close original. Delete credits, skull by kristin, words2, star right, glitter star right, star left, glitter star left, music notes, small stars, words1, pixel words and background
Instructions for coping and pasting.
Activate the layer.
Selections-select all-float-defloat-selections-invert, active paper or tube layer and hit delete.
When you see C/P in the tut that means Copy and Paste.
Add drop shadow as desired. See my tag for exact placement.
Copy and paste desired papers into
each layer. Then delete the original layers.
I
used paper1 for left rectangle and right rectangle
paper7 for rectangle
paper10 for circle2
paper4 for thin rectangle
for thin glittered rectangle add a new raster layer and flood fill with black and add noise, delete the original layer
C/P elements of choice or use mine below. See my tag for exact placement.
c/p your tube center, i used princess2 from the kit
Merge visible
Add name or saying of choice
Add proper copyright info and save as .png
Thanks for trying my tutorial. I hope you enjoyed it.
This tutorial was written on August 12, 2014

